Monday 20 June 2016

Baked Mango Semolina Cake Squares


It is Mango season in India. We too have had a few Badami, Alphonse and Kesar mangoes. As it is pricy and also so few available, I avoid cooking with the fruit. Prefer consuming it fresh. We get tinned mango pulp all year around. Being  Ramadan time, got a few tins, for a good price too. 


Ingredients

  • 1 ⅓ cup semolina
  • 2 cups mango pulp
  • ½  cup oil
  • ¼  cup yogurt
  • ½  cup honey
  • ¼  cup  dessicated coconut
  • 2 tbsp Amaranth seeds (optional)
  • ½  tsp cardamom powder
  • ¾  tsp. baking powder
  • Handful of chopped Nuts (optional)  

Preparation

  • Grease and flour the baking tin. 
  • Dry roast the rava / semolina for few minutes until a nice aroma comes. 
  • If using nuts, chop them and leave aside. The original recipe had a sprinkling of nuts… I avoided nuts and increased the amaranth seed quantity for the crunch.
  • If using fresh mangoes - peel and scoop the flesh alone. Grind in mixie to a smooth puree.
  • Measure all ingredients and keep them ready.

Method


  • In a mixing bowl mix the mango pulp, honey, yoghurt, and oil in that order one after other. Mix until the oil emulsifies with the rest of the liquids.
  • In another bowl mix together the roasted semolina, dessicated coconut, amaranth seeds and baking powder together. 
  • Add the mixed dry ingredients to the wet mango mix. Whisk it into a lump free batter. Initially it will be quite loose and pourable.
  • Preheat oven at 170 degree celcius.
  • Rest the mixed batter for 15 minutes. Now the rava would have absorbed the moisture and the batter would have thickened a bit.
  • Transfer to the greased cake tin, level it. Bake in the preheated oven at 170 degrees for 18- 20 minutes until a  toothpick inserted comes clean.

Notes

  • I have used one cup tinned and one cup fresh mango pulp. Feel free to use either.
  • Initially used only 1/4 cup honey as the tinned mango pulp was sweetened. But the sweetness was not enough. So added 1/4 cup more honey again. 
  • Adjust honey quantity based on sweetness of mangoes. You can also substitute it with sugar. Sugar gives a bright looking cake whereas honey dulls the final finished cake colour.
  • I skipped nuts as a friend for whom it was prepared is allergic to nuts, so avoided it. Feel free to garnish with a sprinkling of nuts.
  • I have used two tray bake pans. My pans are very shallow… So I baked  for a lesser time.
  • I had to use a square and a rectangular pan. If using a deep single cake pan will have to adjust baking time accordingly.
  • I cut into very small individual portions... Got approx 60 small squares.
  • The recipe can be adapted easily to a nut free, vegan version too…
  • To make it vegan - exclude use of yoghurt and instead use any non diary milk (almond).
  • For a nut free version avoid using nuts to garnish.
  • I served with a coating of sweetened mango puree and a sprinkling of dessicated coconut.
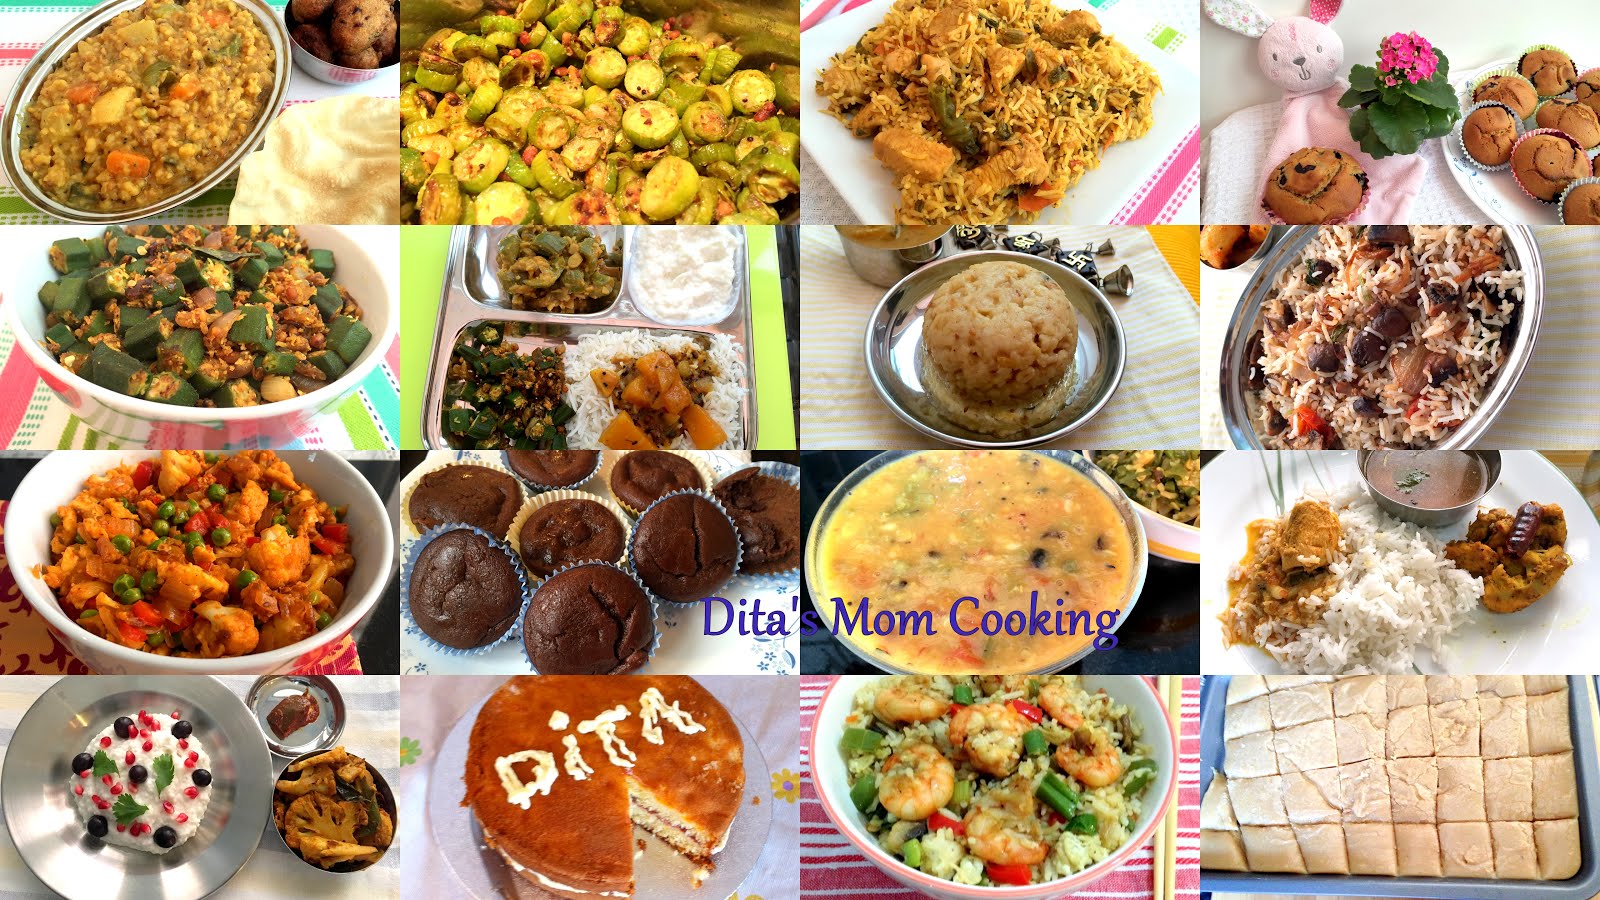
Tuesday 5 April 2016

Kuthiraivaali Curd Rice

Kuthiraivaali Curd Rice


Ingredients

Kuthiraivaali - ½ cup
Water- 11/2 cup
Salt - To taste
Milk - ½ cup
Curd - As required

To Garnish - optional

Pomegranate
Black Grapes
Coriander Leaves

Method

  • Wash the kuthiraivaali thoroughly and soak it for 15 minutes.
  • Pressure cook for one whistle or Cook on stove top by open pot method. 
  • I have used 1 1/2 cups of water for 1/2 cup of millet.
  • Once cooked, immediately fluff millet with fork or else it will clump to a lumpy mass.
  • When vooked millet becomes warm add the milk and mix well.
  • When kuthiraivaali, milk mixture becomes cold add curd and required salt… Mix well.
  • To serve Simply garnish with the pomegranate, grapes and coriander leaves just before serving.
  • Alternately garnish with a  seasoning made with mustard seed, urad dhal and green chillies or just mustard, Jeera and Grated ginger and Hing etc etc.


Thursday 31 March 2016

Quinoa Pulao

Quinoa Pulao

Quinoa, pronounced ‘keen-wa’ is a great wheat-free alternative to starchy grains. There are two types: red and creamy white. Both types are slightly bitter when cooked and open up to release little white curls (like a tail) as they soften.
Quinoa is actually in the same family as beets, chard and spinach.

The UN named 2013 ‘International Quinoa Year’ in recognition of the crop’s high nutrient content. With twice the protein content of rice or barley, quinoa is also a very good source of calcium, magnesium and manganese. It also possesses good levels of several B vitamins, vitamin E and dietary fibre.

Cooked quinoa seeds become fluffy and creamy, yet maintains a slight crunch. It has a delicate and subtly nutty flavor, versatile for breakfast (as a cereal), lunch (as a salad) or dinner (as a side).
Quinoa is among the least allergenic of all the grains, making it a fantastic wheat-free choice. Like buckwheat, quinoa has an excellent amino acid profile, as it contains all nine essential amino acids making it a complete-protein source. Quinoa is therefore an excellent choice for vegans who may struggle to get enough protein in their diets. 

Quinoa is high in anti-inflammatory phytonutrients, which make it potentially beneficial for human health in the prevention and treatment of disease. Quinoa contains small amounts of the heart healthy omega-3 fatty acids and, in comparison to common cereal grasses has a higher content of monounsaturated fat.

As a complete protein, quinoa contains all nine essential amino acids – including the elusive lysine and isoleucine acids, which most other grains lack. Naturally high in dietary fibre, quinoa is a slowly digested carbohydrate, making it a good low-GI option.

How to select & store

Ensure there are no tears or holes in the packet of quinoa you are buying as moisture can affect the freshness of the grain. Store in an airtight container and keep it in a cool, dry place where it can last for several months. 

When boiling quinoa, the compound that coats the seeds (saponins) creates a foam. These saponins give quinoa a slightly bitter taste. It is best to remove any leftover saponins on the quinoa coat; thoroughly washing the seeds before cooking by putting them into a sieve and running them under cold water. Once you have rinsed it well, it can be cooked like rice. It will expand to several times the original size during cooking. 
Info source : BBC


Ingredients
Quinoa - 1 cup (160 mls cup measure)
Water - 2 cups + Some more to cook vegetables
Carrot - 1
Onion - 1 small size
Garlic - 4 cloves
Greenchilly - 2 
Capsicum - ⅓ 
Mushroom - 2
Baby corn - 4 
Celery - 1 stick
Mint leaves - 10 
Coriander leaves - small handful
Lemon - ½ 
Salt - to taste
Pav bhaji masala - ¾ th tsp
Biriyani masala - ½ tsp

To Temper/ Season:
Olive oil - 2 tsp
Jeera - 1/2 tsp 
Elaichi - 1
Cinnamon - small piece


Preparation

  • Rinse the quinoa few times in running water using a seive. The quinoa has some bitterness, hence will have to be rinsed thoroughly.
  • Slice onions, and mushrooms thinly. Chop the garlic and green chilly finely.
  • Chop the carrots, celery, baby corn, Capsicum to bite size. Chop the mint and coriander finely.

Cooking Quinoa: Direct stovetop method

Water ration is 1 : 2 for one cup quinoa. 
Boil two cups of water. 
Add ⅛ th tsp salt to water, add the rinsed quinoa. 
Mix and when it bubbles, lower flame and cover with lid. 
Gently mix once or twice in between to avoid burning. 
Cook covered until quinoa is done. 
Takes about approx 12 minutes for the above measure. Timing may vary... so keep an eye.

Method :

  1. Heat  2 tsp olive oil  in a kadai.
  2. When oil is warm, season with jeera, elaichi, and a small piece of cinnamon.
  3. Add the onions and cook until translucent. 
  4. Add the garlic and green chilly. Saute for a minute.
  5. Now add the mushroom and celery and cook until mushroom wilts a bit. 
  6. Add the babycorn, stalks of broccoli, carrots saute for couple of minutes.
  7. Add the capsicum, broccoli florets and the spice powders and salt. 
  8. Saute and sprinkle some water… mix and cook covered. I just sprinkled 2 tbsps of water… It depends on vegetables used… so adjust accordingly.
  9. Finally add the chopped mint, coriander and cooked Quinoa. Mix well... Simmer covered for five minutes. Switch off… 
  10. Squeeze the juice of half a lemon or to suit taste before serving.

Notes:

  • Add the correct water quantity to cook quinoa... Do not make it mushy... Add little salt only while cooking... Do not make it salty...
  • To cook vegetable add water according to your taste... I sprinkled as i wanted vegetables to be crunchy... 
  • This dish requires less salt only... So be careful when adding salt....
  • I have kept it as a low oil dish as I cooked it in a ceramic pan... If using other material kadai will require a bit more oil...
  • Some mistake quinoa for Thinai... Both are different... 
  • This recipe can be adapted to cook with other millets too.

Saturday 26 March 2016

Tomato Soup

                                   Tomato soup


Ingredients for the Tomato Stock

Ripe Tomatoes - 4 
Carrot - 1
Leek - 1
Celery - 1
Medium onion - 1
Pepper corns - 1tsp or to taste
Cloves -  2
Bay leaf - 1
Kashmiri chilli - 1

For White Sauce
Butter - 1 tbsp
All purpose Flour - 1 heaped tsp
Milk - ¼ cup

Preparation
Stud the cloves in the onion… 
Use equal lengths of carrot,leek,celery… Use very ripe tomatoes…
Cut the vegetables into big chunks…

Method


  • Add all the cut vegetables into a pressure cooker… 
  • To it add one and a half cups of water...
  • Pressure cook for 4 whistles… 
  • Wait for steam to settle by itself… 
  • Remove the cloves from the onions.
  • Strain and keep the stock aside… 
  • When the cooked vegetables becomes warm, grind it in mixie and pass through a seive… 
  • Use the stock to extract as much of veg puree as possible… 
  • Mix the stock with the extracted tomato puree… season with salt… 
  • Now prepare a roux(White Sauce) 
  • Melting the butter in a vessel...
  • Add the flour…  saute until rawness of flour disappears… 
  • Add the milk… cook into a lump free mix… 
  • Add the prepared tomato soup little by little into the roux… 
  • Mix without any lumps… add all the Soup… 
  • Adjust seasoning… bring to a single boil… 
  • Serve with bread croutons…


Notes

  1. You can make of boquet garni of the chilly, peppers, cloves and Bay leaf... If so remove it and then strain and Grind...
  2. I prefer some spiciness to the soup so I grind the peppers and red chilly... You can remove it and finally add some freshly ground pepper before serving too...
  3. I use 1% Fat Milk to make the roux... It makes the soup more healthier... You can also use garlic and herb butter to make roux... I have tried it that way too... I like the garlicky flavour...


Friday 25 March 2016

Eggless WholeWheat Blueberry Muffins

Eggless Whole Wheat Blueberry Muffins

This is a healthy low fat low sugar version... Do try it and enjoy it as breakfast or snack...


Ingredients

Whole Wheat Flour - 1 & 1/2 cup minus 3 tablespoon
Blueberries - 1 cup
Corn flour - 3 tablespoon
Buttermilk - 1 cup + 1 tablespoon
Sunflower Oil - 1/2 cup + 1 tablespoon
Brown Muscovado Sugar - 3/4 cup
Baking powder - 1 tsp
Baking soda - 1/2 tsp
Vanilla essence - 1 tsp

Preparation

  • Wash and dry the blueberries. Mix them with a tsp of flour and keep aside.
  • Measure the whole wheat flour and remove three tablespoon flour... Add three tablespoon of corn flour now... Mix it well... Sift together Whole WheatFlour and Cornflour mix twice.
  • Measure everything else and keep it ready…
  • Line a muffin tray with paper cup cake liners.

Method

  1. Preheat oven to 170 degree celcius…
  2. In a mixing bowl add the sugar. To it add the vanilla essence and buttermilk… Whisk it well until the sugar dissolves.
  3. Add the oil and whisk again.
  4. To this wet mixture add both the baking soda and baking powder and whisk. You will see bubbles appearing.
  5. Now add the sifted whole wheat, Corn flour mixture in increments. Fold it in until the batter is lumpfree. Do not overdo this step.Do it lightly but ensure flour is mixed.
  6. Finally add the blueberries… Mix it into the batter.
  7. Fill the cupcake liners upto ¾’th level.
  8. Bake in the preheated oven for 20 minutes until a toothpick inserted comes clean.


Notes

  1. Mixing cornflour to the Wholewheat flour ensures a light airy textured muffin. Plain wheat flour will result in a dense muffin.
  2. I used Buttermilk - Can try with Curd or yoghurt too… To make buttermilk - To a cup of room temperature milk I added a tablespoon of apple cider vinegar and mixed it well… This is baking buttermilk.
  3. Do not overmix the wheat flour. If gluten starts forming the muffin will be dense…
  4. I tried it with brown muscovado sugar… If you don't have this sugar use regular white sugar… Final muffin will be light in colour though.
  5. If blueberries are unavailable can substitute with chopped apples... Use half a teaspoon of cinnamon powder as it's flavour goes well with apple. Or tutty fruity can be used instead of blueberries... even chocolate chips too...


Thursday 3 March 2016

Grape kesari

Grape Kesari


Hi Friends, 

Plain Rava Kesari, Milk Kesari, Pineapple Kesari, Mango Kesari, Fruit Kesari, Aval Kesari, Carrot Kesari,Semiya Kesari are various Kesari’s that we all know...!

This Grape kesari is my latest trial… Had it at a wedding in India last year… Been wanting to try it out as I liked the lovely natural colour… My online search drew a blank except for a Grape Boli recipe… And that recipe had grape kesari as filling for the boli… There were no other kesari recipes with grapes to clarify a few doubts I had… Then checked Mrs. Revathy Shanmugam’s You tube video on Fruit kesari…. Got a few tips from her and tried it… It came out well... So sharing it here...


Ingredients 

Black seedless Grapes - 1 cup (200gms in weight)
Rava/Semolina - ½ cup
Water - 2 ½ cups +1tbsp
Sugar - 1 ¼ cup
Cashews - 2 tbsp broken
Rose essence - 2 drops
Ghee - 2 tbsp
Cooking oil - 2 tsp

Preparation 
  • Wash the grapes well… Drain it completely… You can cook grapes on stovetop or in pressure cooker… 
  • I opted for stovetop as I did not want the grapes to ooze lots of water… 
  • Cook it covered with just a tablespoon of water for 15 mins… Switch off… 
  • Cool it completely… 
  • Grind it in mixie to a smooth pulp… You do not need any water to grind it.
Method
  • Heat a tablespoon of ghee, and two teaspoons of cooking oil…
  • Roast the cashews until it turns a light golden..
  • Add the Rava… Saute in medium flame until a nice aroma comes… Do not burn it…
  • In the meanwhile boil the two and half cups of water…
  • Once Rava is roasted well, Add the boiling water carefully… Mix it constantly, to avoid lumps…
  • Cook the Rava until it is three fourth done… You will see uncooked Rava Grains...
  • Now add the ground grape paste… Mix well…
  • Cook until the rava is well done…
  • Add the sugar.. Mix well
  • It will become watery, then the mass will start to thicken… Don't panic when it becomes watery...
  • Add the remaining ghee and mix well…
  • Remove when still a bit loose…
  • Add two drops of Rose essence..Mix well.
Grape Rava kesari is ready to be served…


Points to note…
  1. I have cooked grapes in pressure cooker before to make squashes. Even if you don’t add water, it will be watery because of the pressure cooking process. We will end up having lots of watery grape juice. So tried the stovetop cooking method. Choice is yours.
  2. I did not strain the grape after grinding. I could not see any skin. Used it as such. If your grapes have seeds or thick skin will have to strain it then. Note then colour of final kesari may not be this intense in that case.
  3. I used 2 ½ cups water for ½ cup Rava - That is how I always do kesari. I feel this way I avoid lump formation and also get a soft kesari. You can add water according to your normal technique too.
  4. Adding grape pulp when Rava is three fourth done - When I started thinking about this kesari my main worry was will the rava Cook in the fruit pulp...? Fruit sugar, Acidity etc were things in my thought process. But there was absolutely no problem. Rava cooked really well and easily. 
  5. I Used 1 ¼ cup of sugar only - It was to our preference. But the Kesari had a light tangy taste because of grapes. If you want a sweeter kesari add a bit more sugar. It is your personal choice
  6. Using cooking oil is the tip I saw in Mrs.Revathy Shanmugam’s video - As she suggested the Kesari remains loose for a long time. (Plain Ghee solidifies and will harden the kesari as it cools)
  7. Using Rose Essence - The grapes that I used is called Sable Grapes. It is similar to the Panneer draakshai (பன்னீர் திராட்சை) that we get in India. But after cooking that flavour disappeared from the grapes. So I used the Rose essence to recreate it.
  8. The amount of ghee mentioned may appear less. If there are no diet restrictions feel free to use one more tablespoon of ghee or alternatively add a drop just before serving.
  9. Hope you will give this kesari a try. Do let me know.